
The kit comes with a premade fiberglass panel/shell. This shell is well done and a good place to start as it is a custom fit to the fuselage. While it also includes a fiberglass panel insert for mounting your avionics, I had my panel laser cut from a sheet of aluminum. The aluminum is stiffer, and I think it’s a better choice as some of the edges are quite narrow.
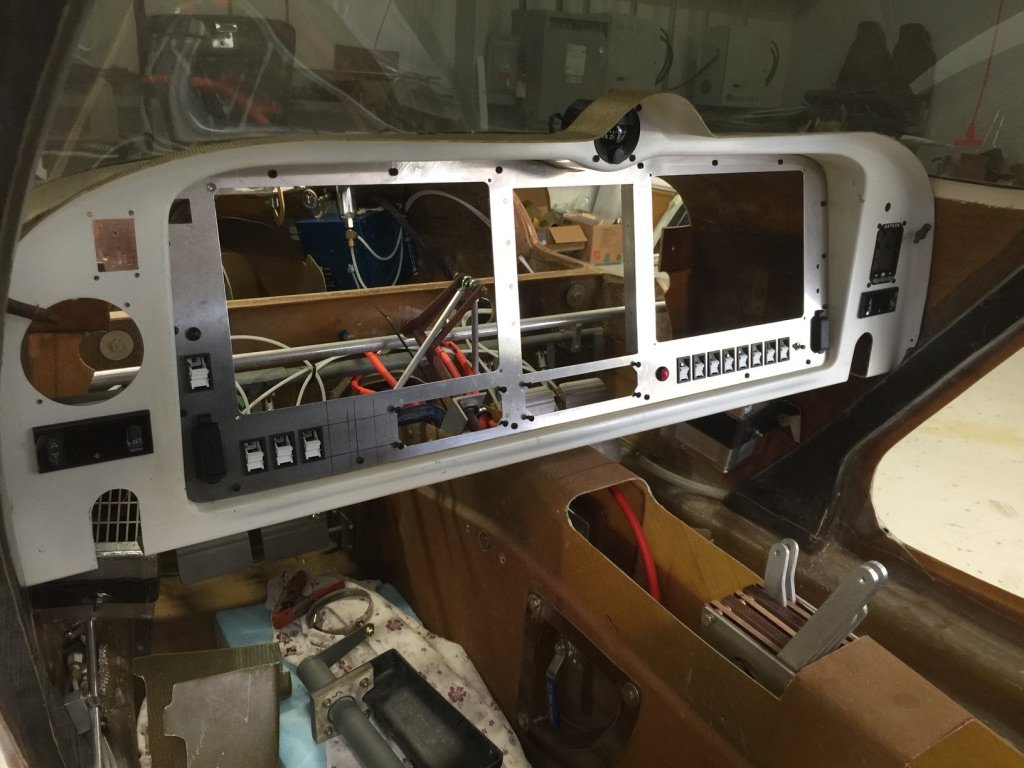
Fiberglass panel has been cut for instruments and primed 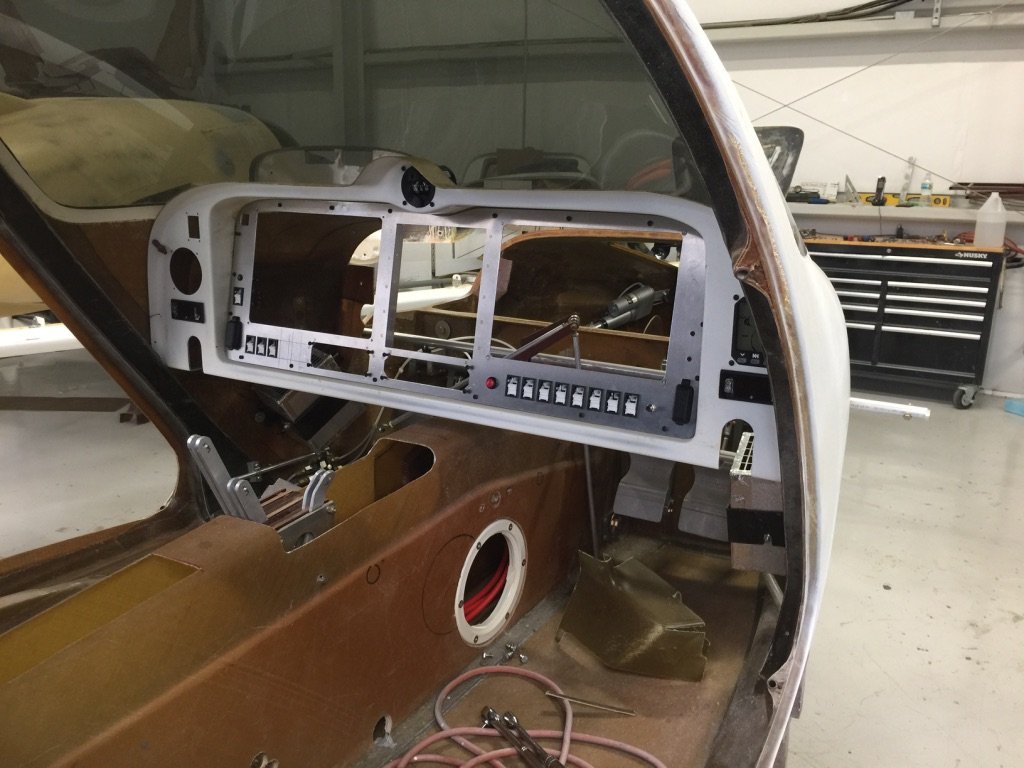
Aluminum insert has also been cut for the instruments, switches, etc.

Then installed the radio stack trays 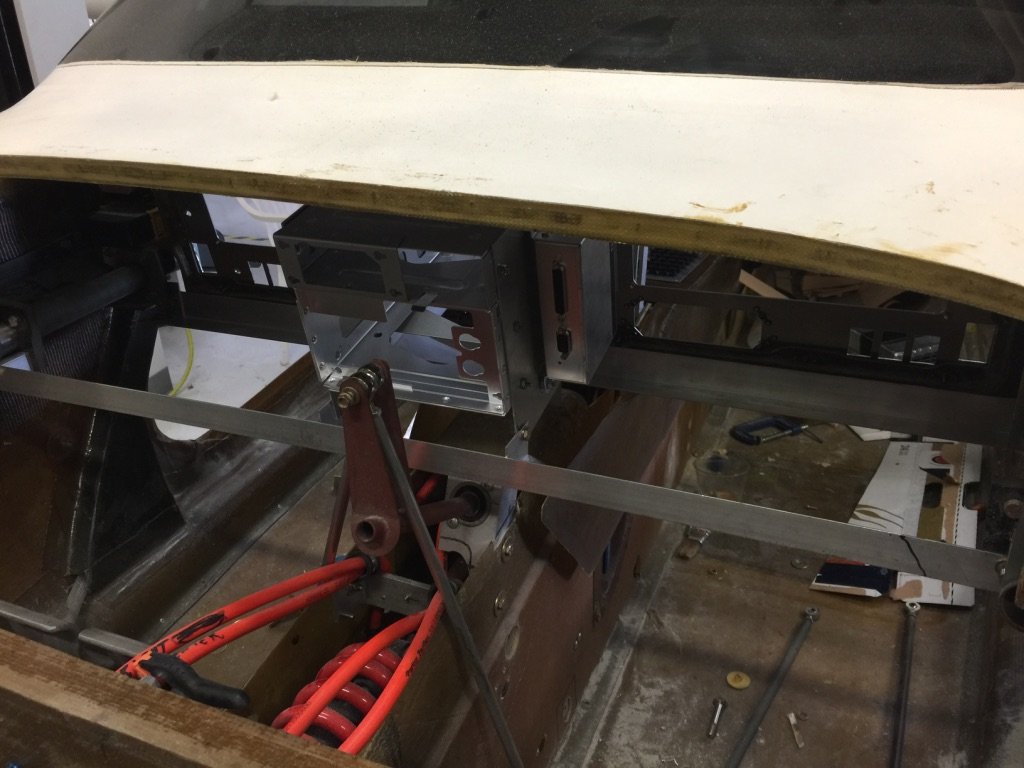
And started building a supporting framework for the panel
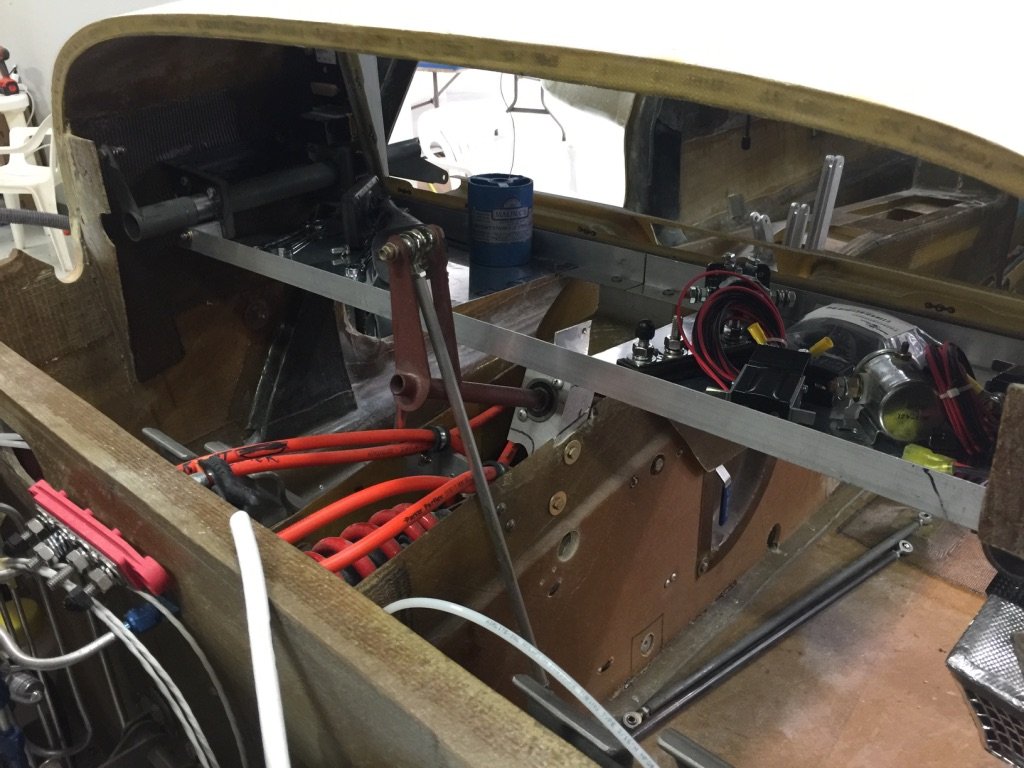
The panel is supported by the center console and hard points on the sides 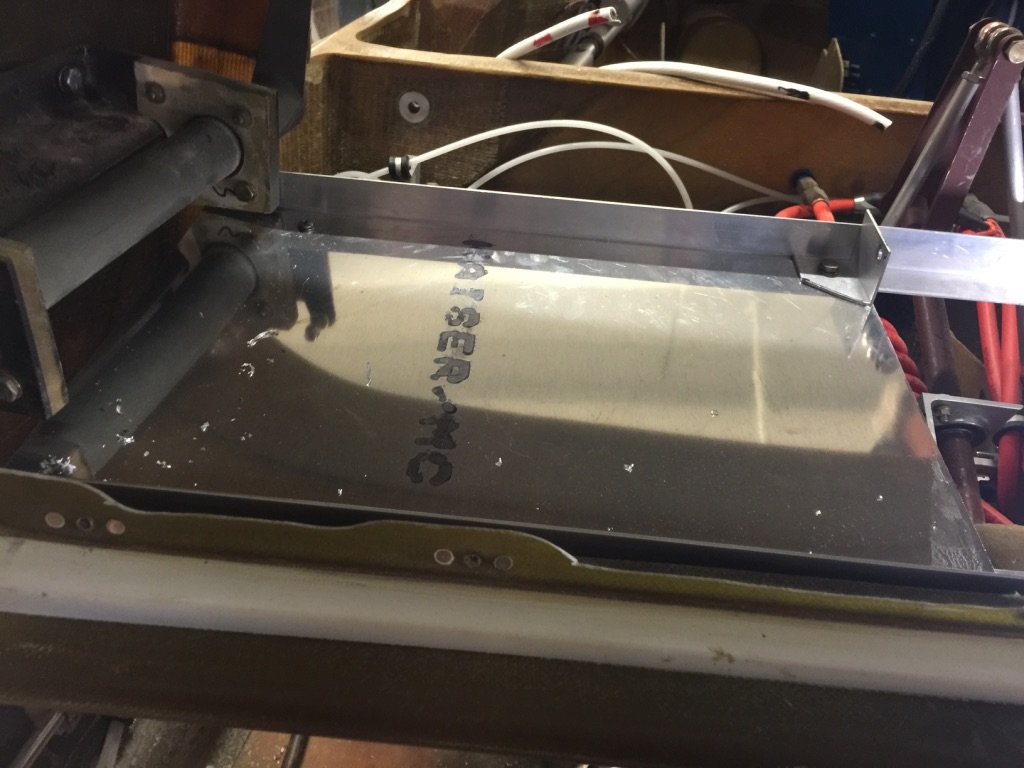
Built a lower mounting tray on each side
Building the radio stack 
Building the supporting framework 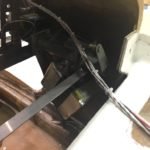
Building the supporting framework