Engines

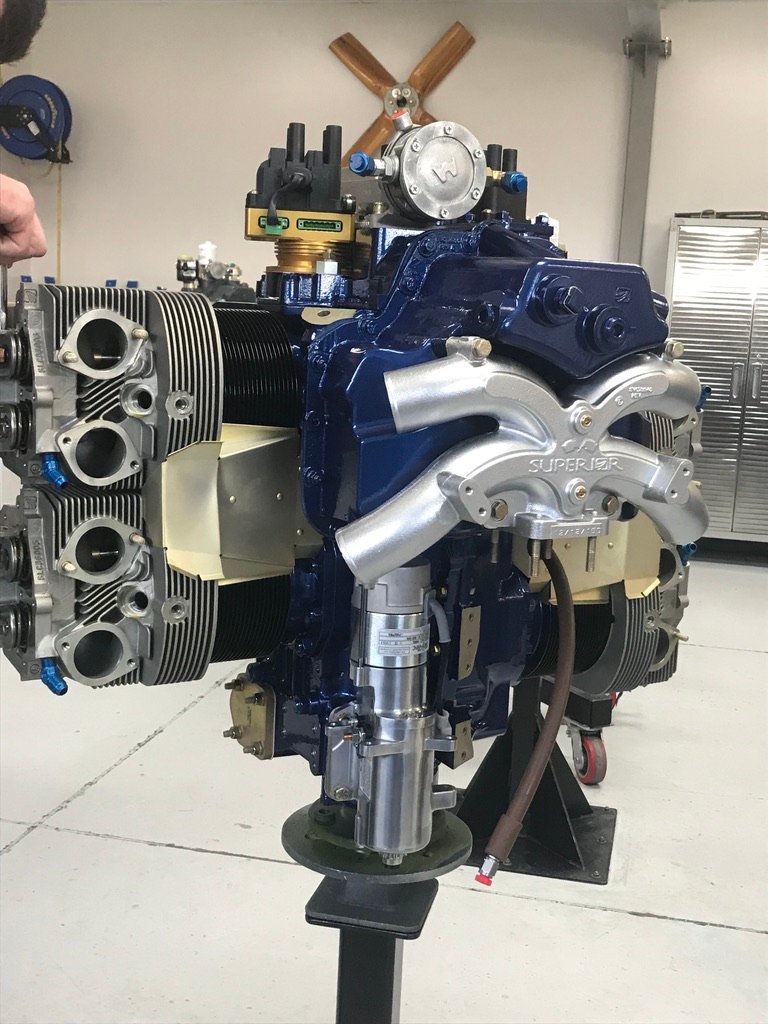
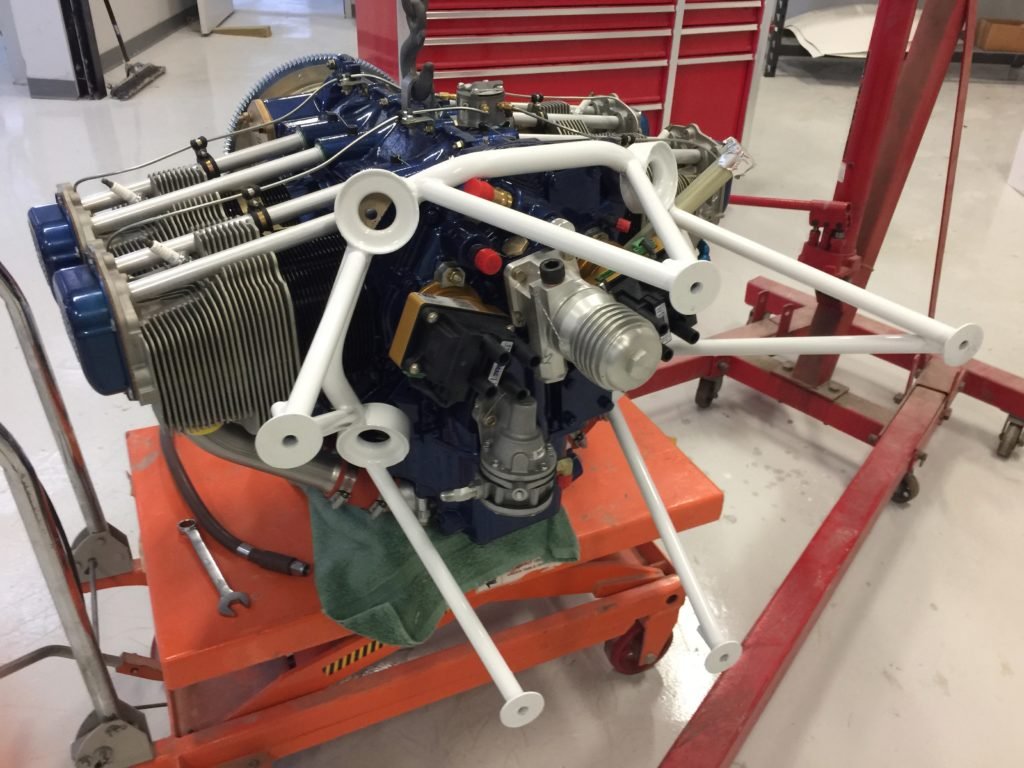
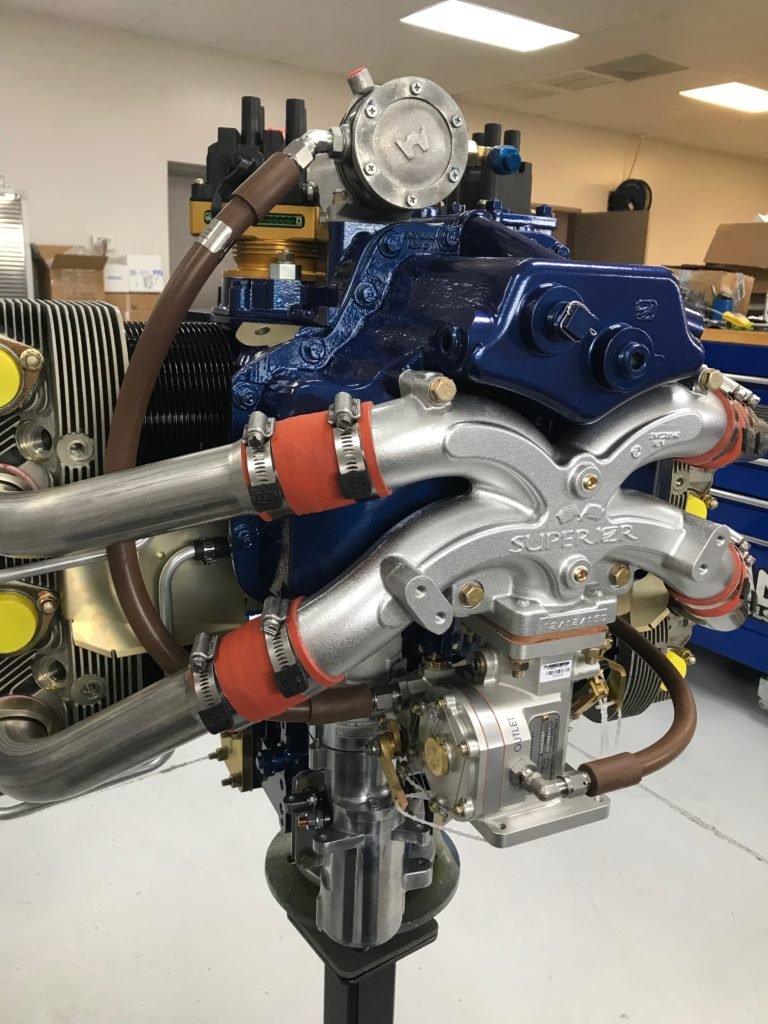
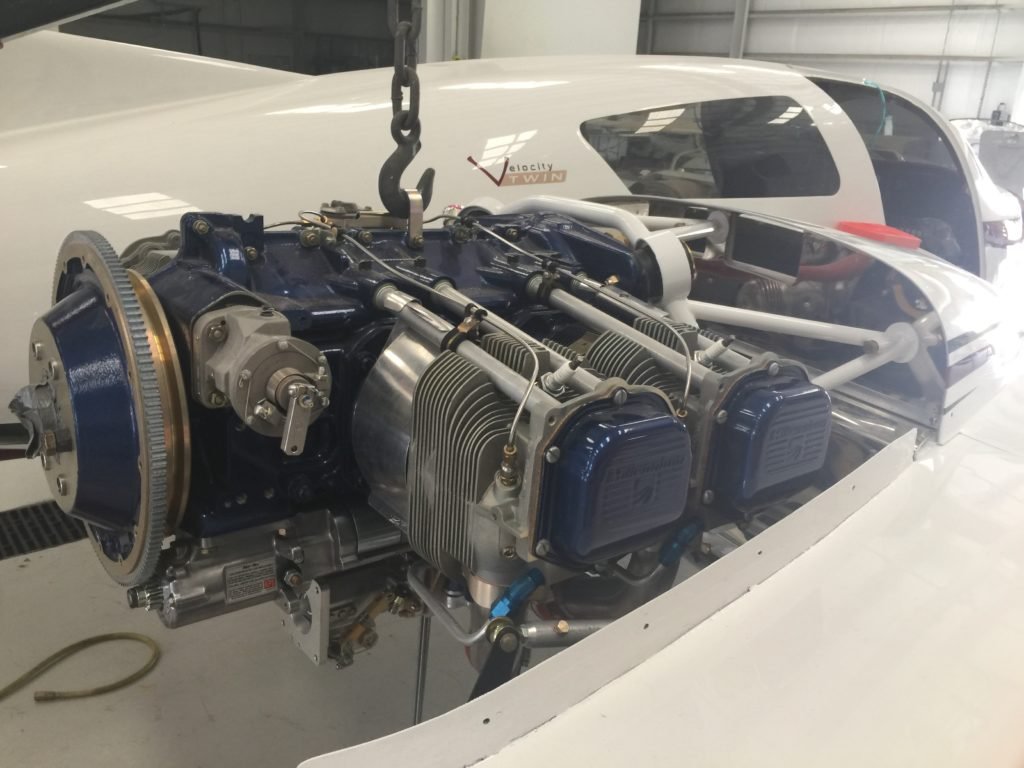
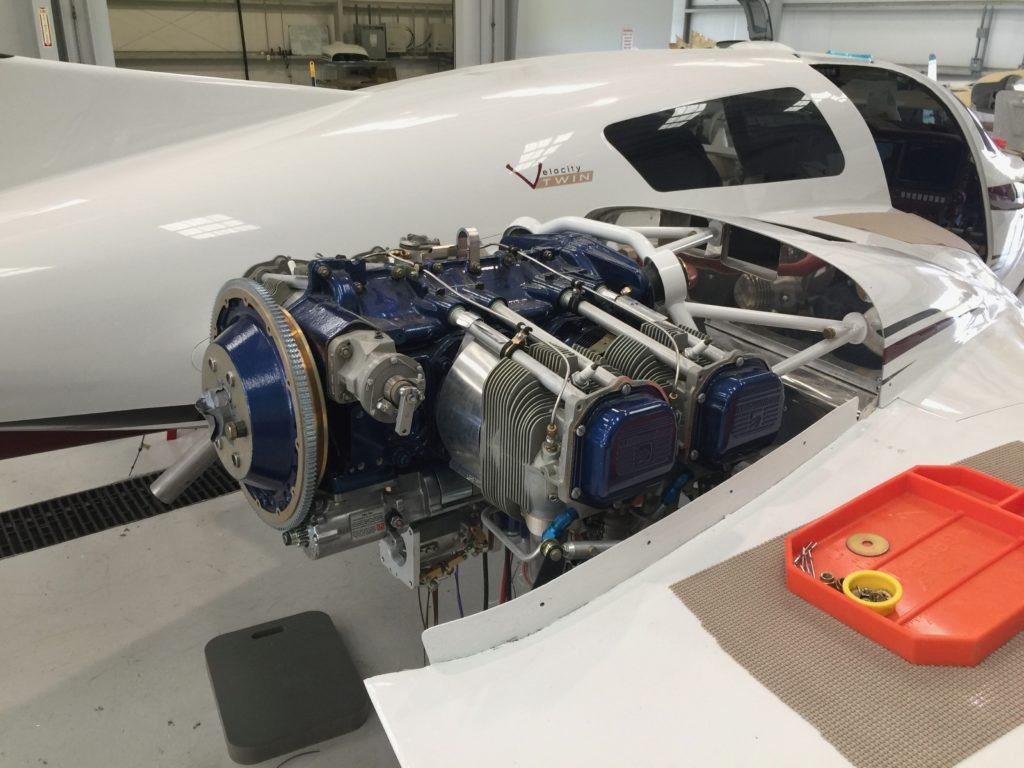
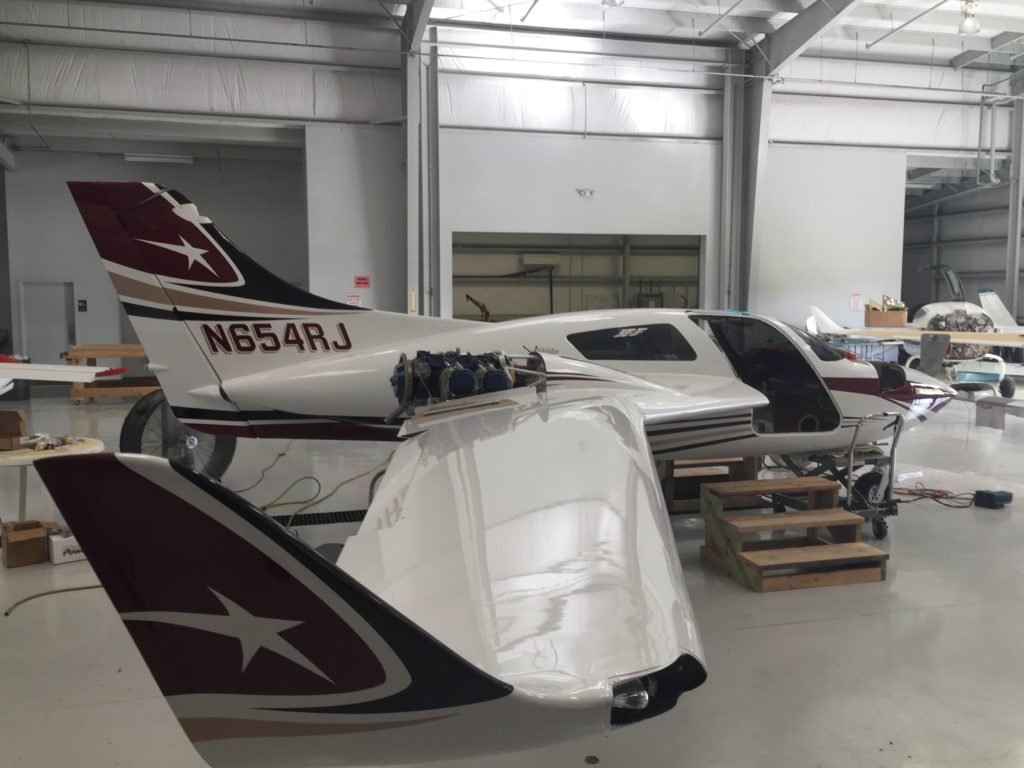
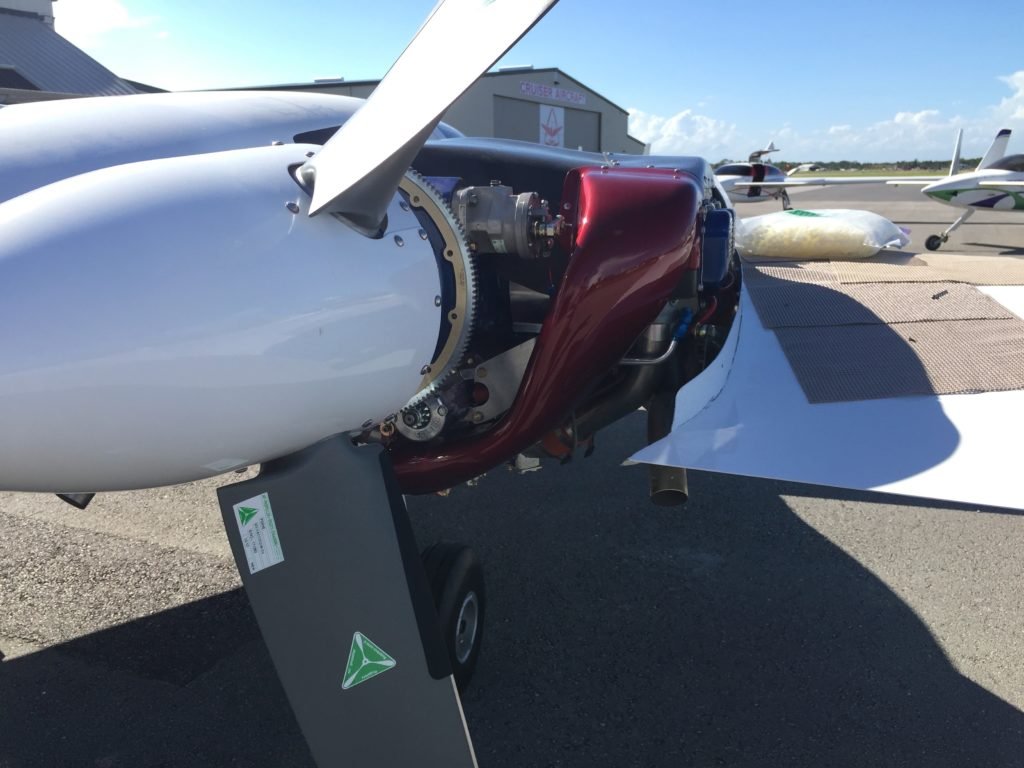
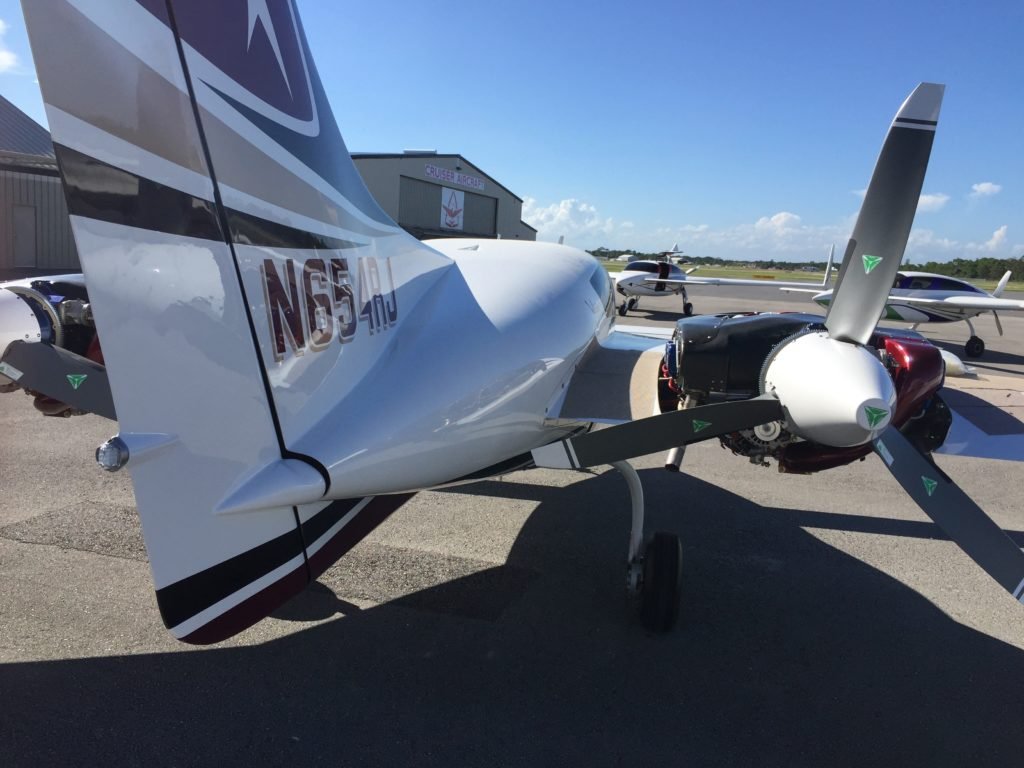
Custom built by JB Aircraft Engines in Sebring, Florida.
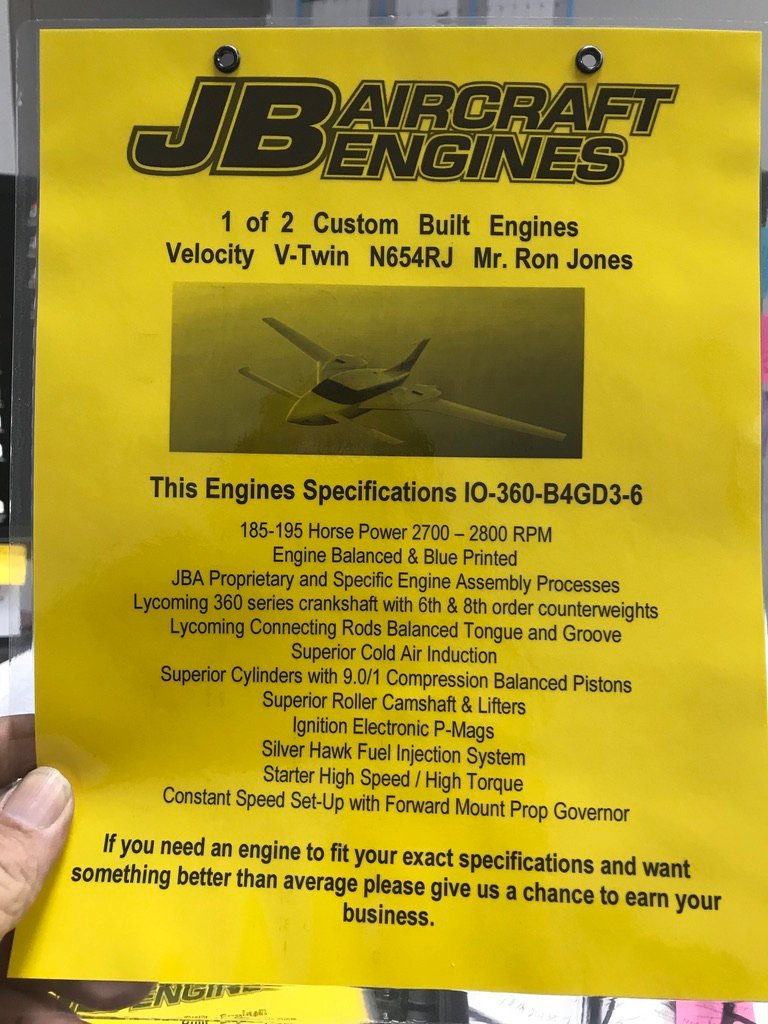
Based on my experience with previous airplanes, including two twin engine models, I knew that I wanted to ensure the engines would run as smoothly as possible (for a reciprocating engine). So I specified a number of options toward this end.

First, I opted for the Lycoming counterbalanced crankshaft. While I do prefer the Superior engines for a lot of reasons, things like roller cams, the ability to replace the lifters without splitting the case, and so on, I decided on Lycoming counterbalanced crankshafts to enhance smooth running. Like anything, this option has pluses and minuses. For example, since you can’t “horse” the throttle around (no abrupt movements), I wouldn’t recommend this for an acrobatic airplane like a RV-8. But for a twin, there is really no need to make quick, abrupt throttle changes. That caveat is worth it in order to have a smoother running engine.

Second, I opted to go with all PMag electronic ignitions, as in two on each engine. No magnetos. This results in slightly better fuel economy as the timing will be advanced for cruise. It also makes for a smooth idle and easier starting, especially on hot starts.
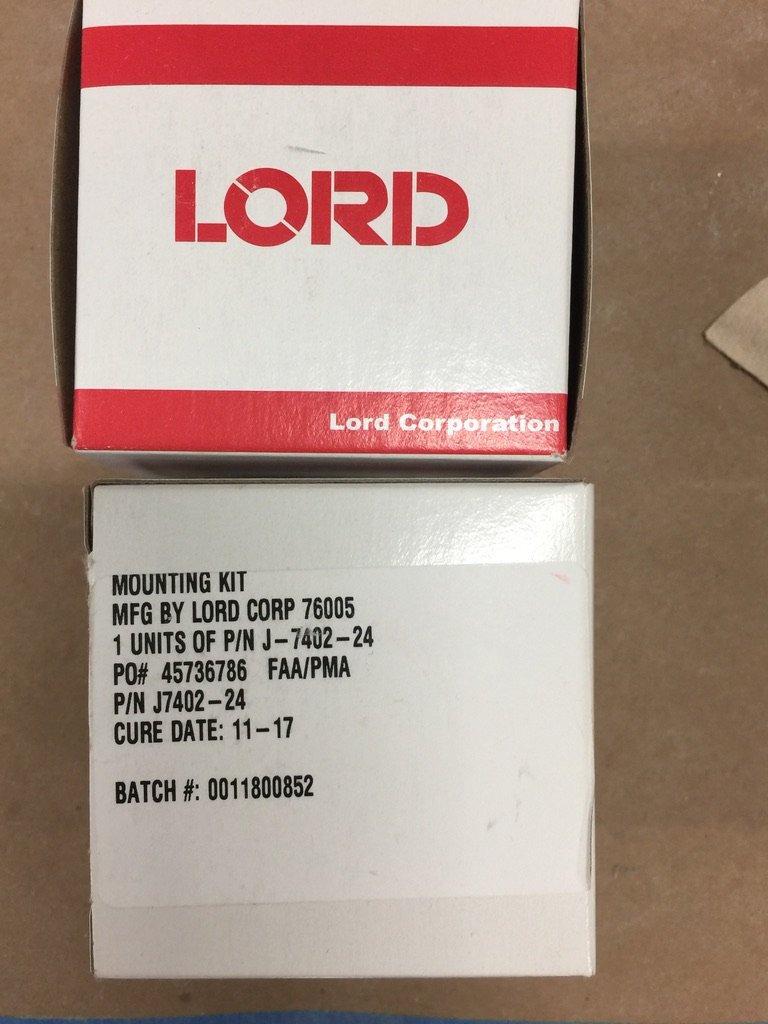
Third, I opted for Lord engine mounts. They are somewhat softer than Barry engine mounts, and they cost just a little more. But the engine vibration that is transferred to the air-frame is definitely less with these isolators. I got mine at Aircraft Spruce. The only downside is they might not last quite as long, maybe only a 1,000 hours or so until they will need replacing. I’d rather have the smoother engines.

Fourth, I had the props dynamically balanced. That might have helped a little, but smoother is the goal, so it was worth a try.

So those were my efforts toward smoothness.

I also opted for internal oil squirters. I don’t have any experience with these, and I’m not sure I made the right choice with those. While I went with them because some oil is squirted onto the piston skirts and reportedly keeps the pistons cooler and increases their longevity, there is a trade-off. In this case, you are using the oil for additional engine cooling which naturally raises the oil temperature. I was told 2-3 degrees would be expected. In my case, since the V-Twin still had some oil cooling growing pains, there is no way to know if these squirters were a good choice or not. Plus, cooling pusher airplane engines is more challenging than a tractor setup. Only time will tell. Later on, I will discuss oil cooling.

First, let’s cover a few other things starting with the alternators (Plane Power Flex – 28 volts, 150 amps). These are terrific alternators. Great power. Somewhat lighter weight. And perfect for an all electric airplane like mine that sports both electric heat and air conditioning. They are definitely pricey, even more now than when I purchased mine. I got them at Aircraft Spruce. I wanted 100 amp versions, but Plane Power doesn’t have a 28 volt model like that. The alternative is a 28 volt 70 amp version. In retrospect, those should suffice (and at 1/3 of the price!). My heaters, as originally installed, need 45 amps each, so if I had an alternator fail enroute and I also needed heat, I could only use one heater in that situation. (Note that since my original build, I have set my pilot heater on LOW, which only draws 25 amps, and I have replaced the copilot heater with a 35 amp model.)

My air conditioner needs 35 amps, so no problem at all with a single 70 amp supply (that’s assuming they can output about 50 amps each at idle so that you can heat or cool while on the ground). As I was building the airplane, I had to make an alternator choice when I had not yet settled on the design of my heating system, so I went with the 150 amp versions as insurance against any future problems. Pricey, yes. They work great though. Even at idle power (130 amps output at 1,000 rpm), they don’t appear to load the engines at all even under max amp loads. Very nice.

Now, on to oil cooling. This ended up being a big “growing pain” issue with the airplane. I did have some oil cooling issues while still in Florida at the factory, but I was told things would get better once the engines were broken in. Also, I wasn’t yet that familiar with the air frame. I didn’t have a good feel for the appropriate climb speeds needed for proper engine and oil cooling. And there were a number of suggestions, all of which made me think (hope?) it would be okay.

Then, once I headed back to California flying at maximum weights and during a serious summertime hot spell, I quickly concluded that the oil cooling situation needed to be addressed. In short, it was untenable, especially in the mountainous Western US. I needed a solution.

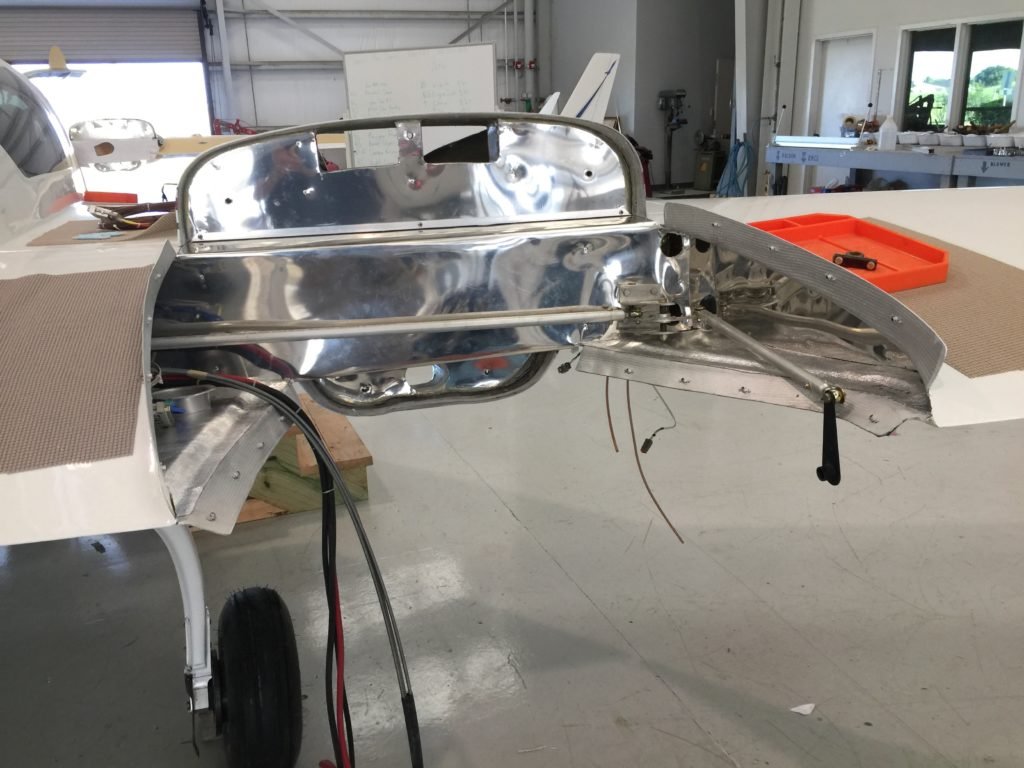
The oil cooler setup that was currently being used involving routing cooling air to a side mounted oil cooler (on the side of the engine mount) using a 3″ scat tube which necessitated a couple of sharp twists and turns). As I discovered, this approach just wasn’t adequate.

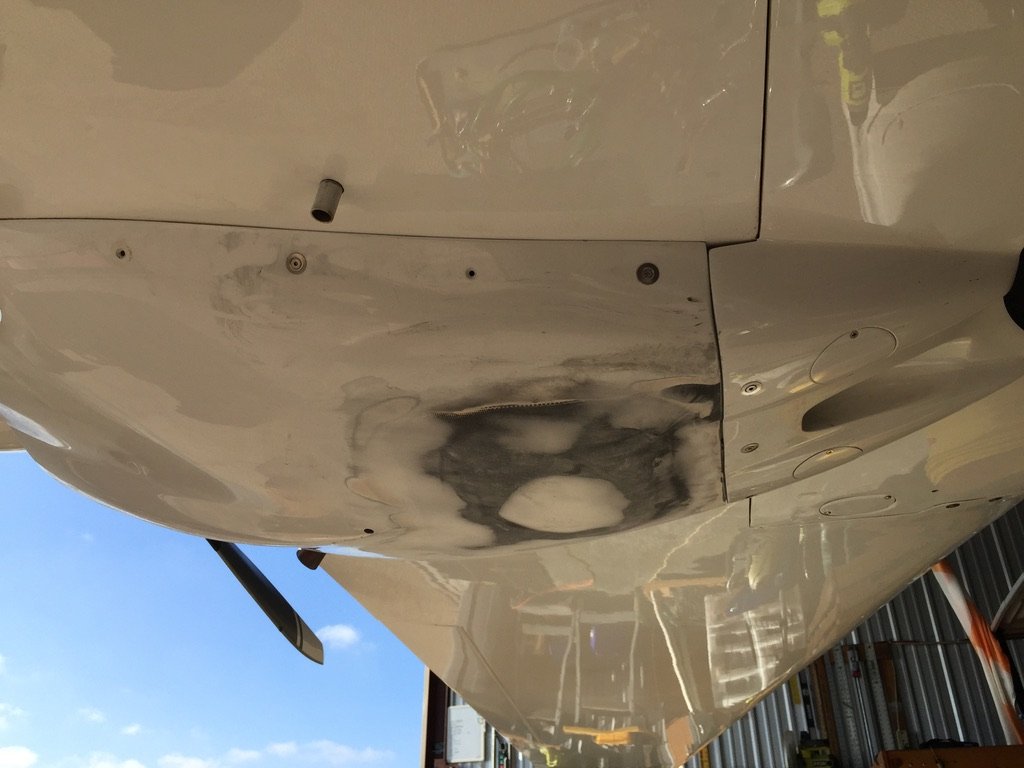
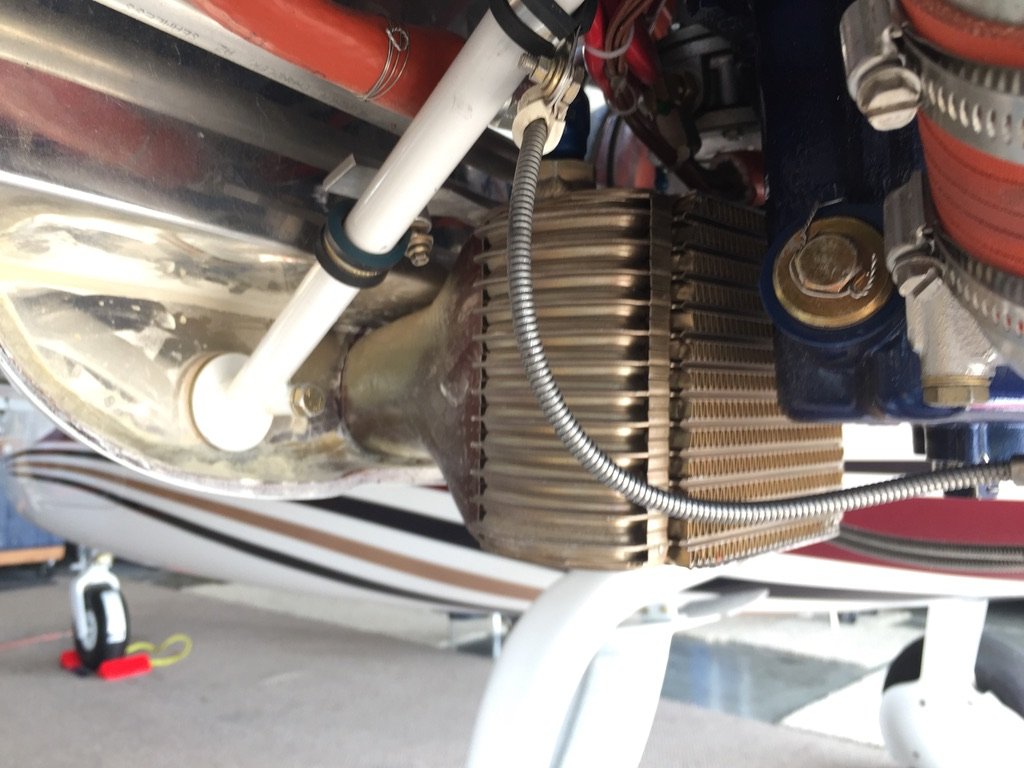
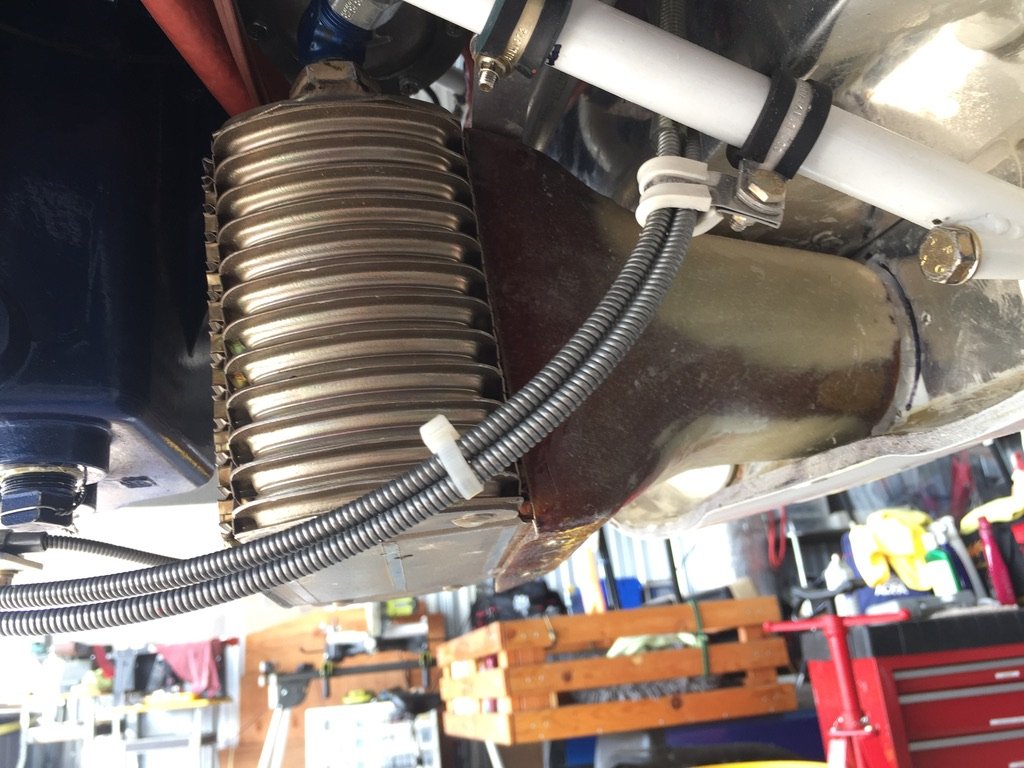
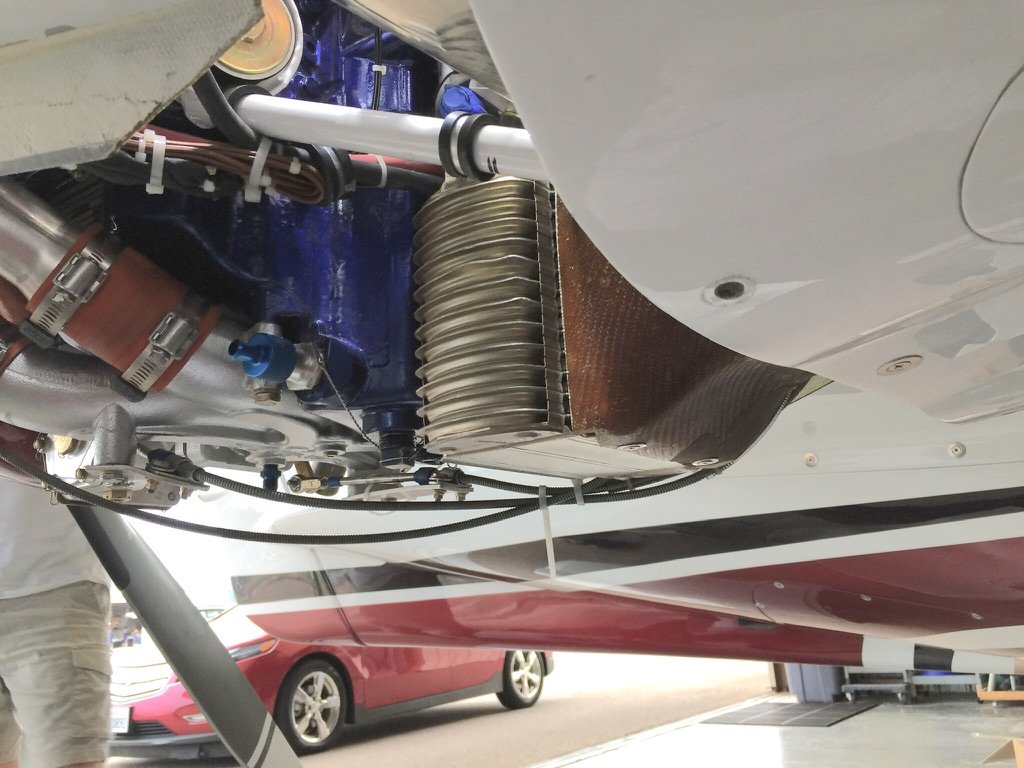
My solution was to move the oil cooler below the engine and in a direct line with the oil cooler inlet hole on the bottom cowl. This change eliminated the scat tubing entirely and provided a direct air flow into the coolers.

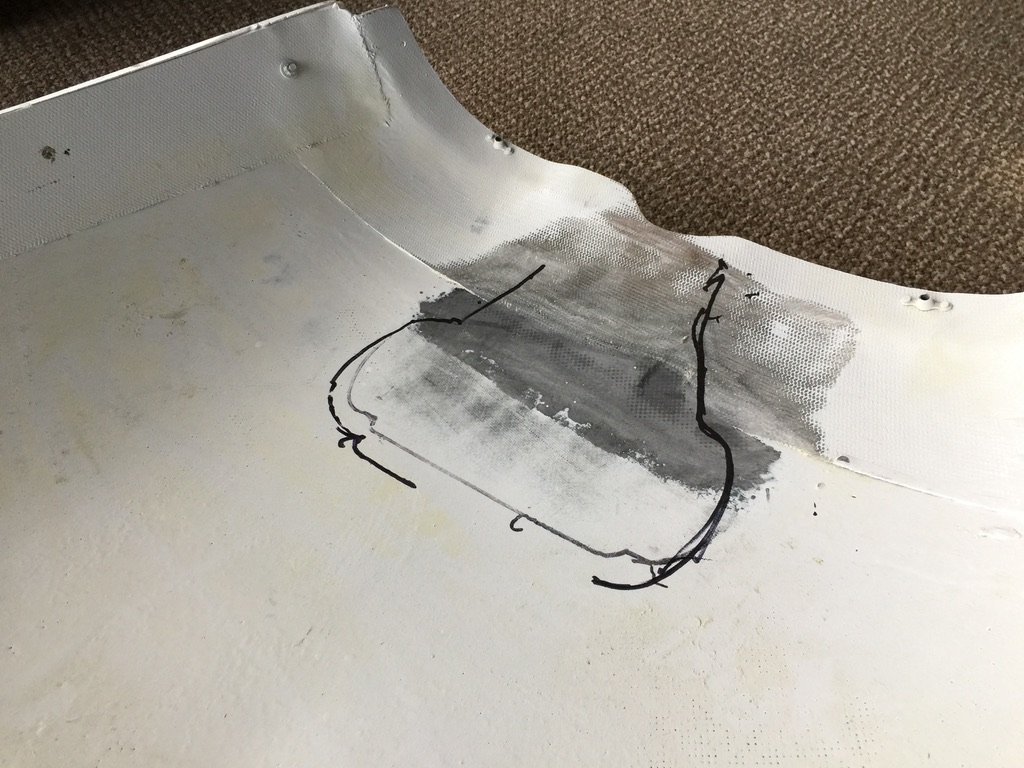
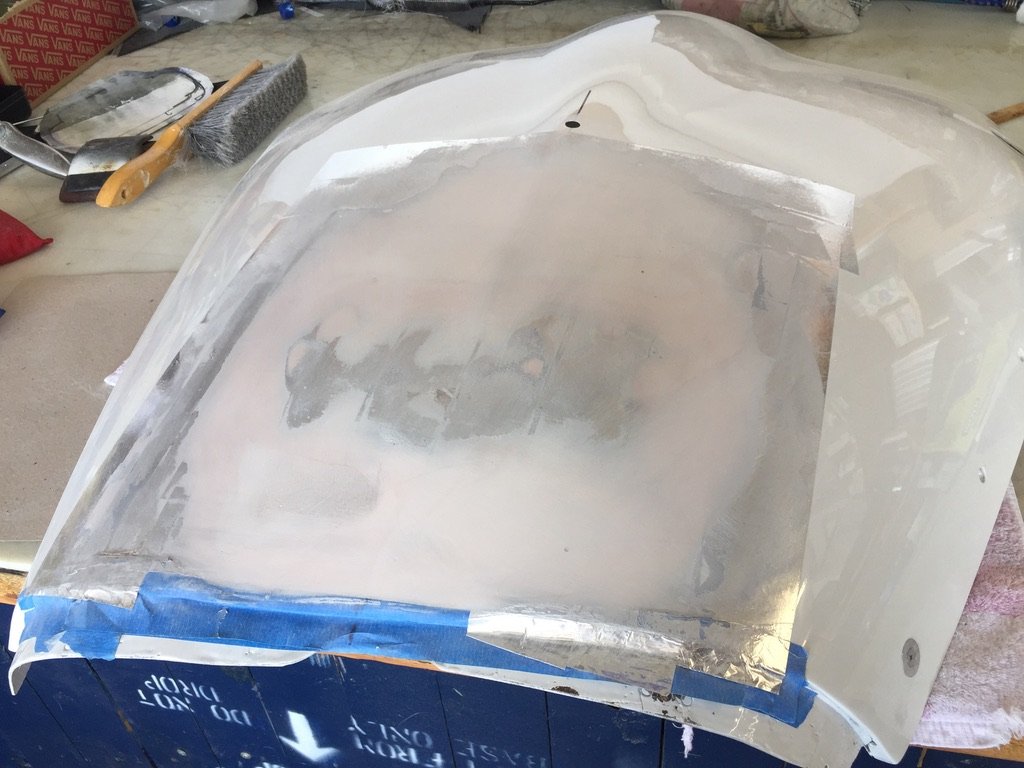
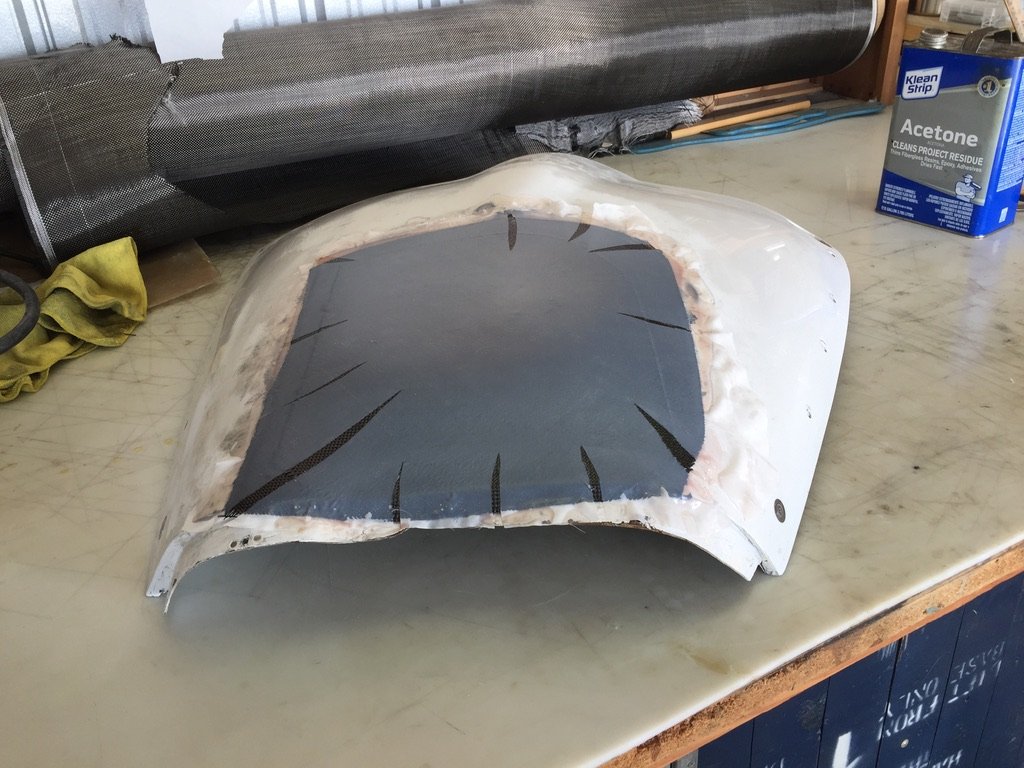
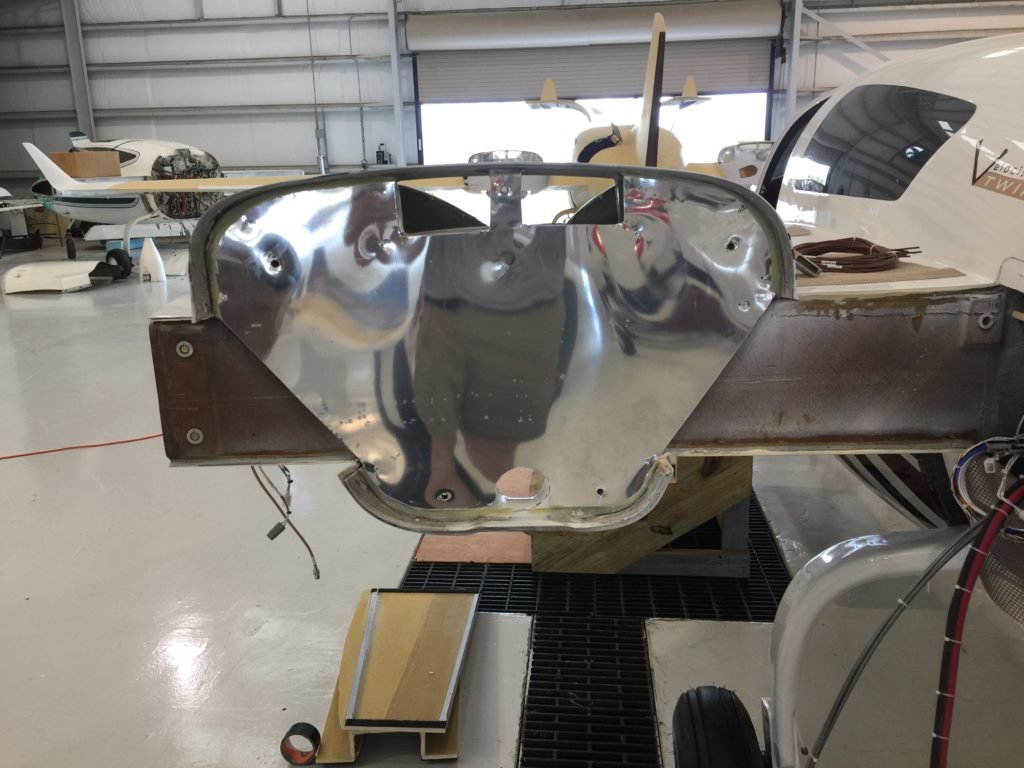
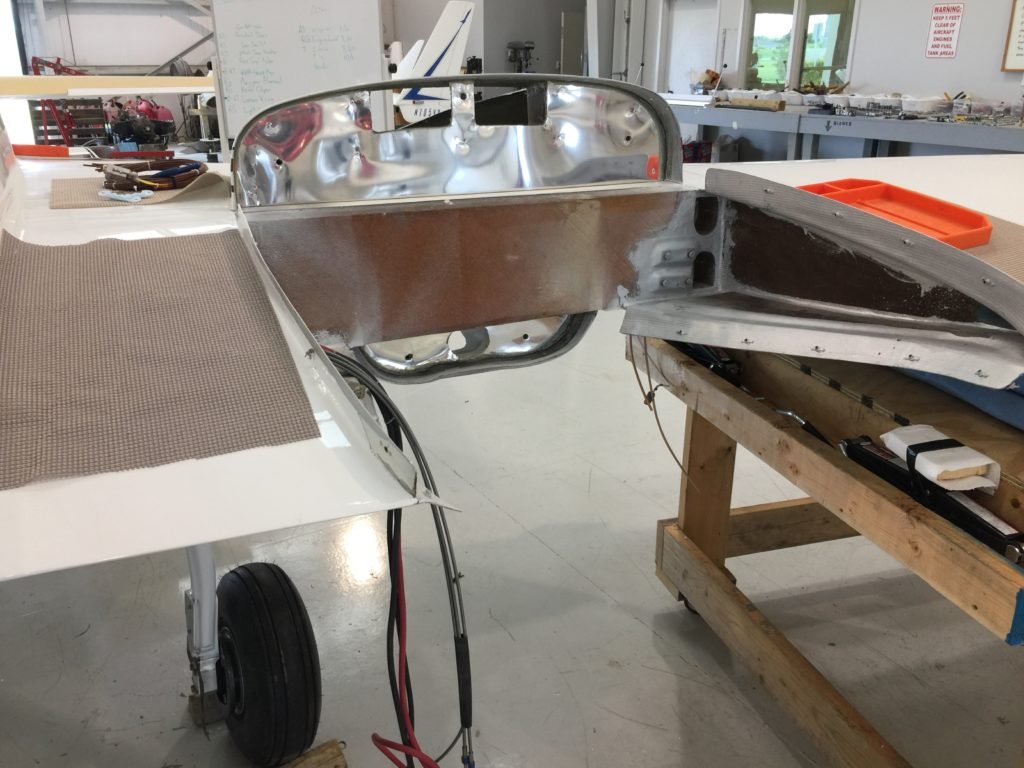
This took a lot of trial and error, and conversations with the factory (they were super helpful). But I could not get this new location to fit without modifying the lower cowlings. It was, oh, so close, but needed about 3/8″ inch more room. Darn. I didn’t want to do it, but I was necessary.

Reshaping the Bottom Cowlings

I had to change the shape just a little.The lower cowling already was “arced” in the right direction.

The camera angle is a bit deceiving, but you get the idea that a little more space was needed.

Now I have good, solid oil cooling. No more runaway temps that required halting the climb and leveling off, or serious power reductions. Now, I can just let ‘er rip!

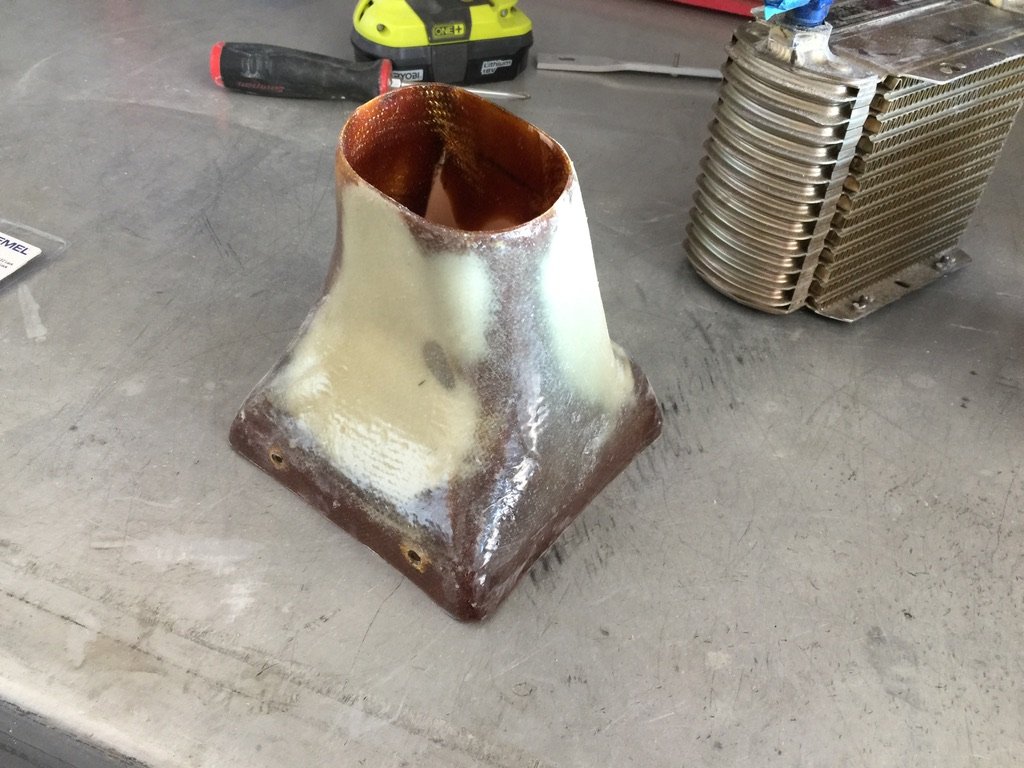
As a result of these efforts and the good results, the factory decided to change their setup, too. They were involved every step of the way in getting this problem resolved. (Yes, that will work fine. No, that’s not a good idea. And so on.) So they also moved their oil coolers to the lower, more direct air flow, location. To really ensure that would be no more problems with oil cooling, they designed a totally new air scoop for the coolers. This means their cowlings will need to be modified, too. But, of course, that’s much easier to do while building.

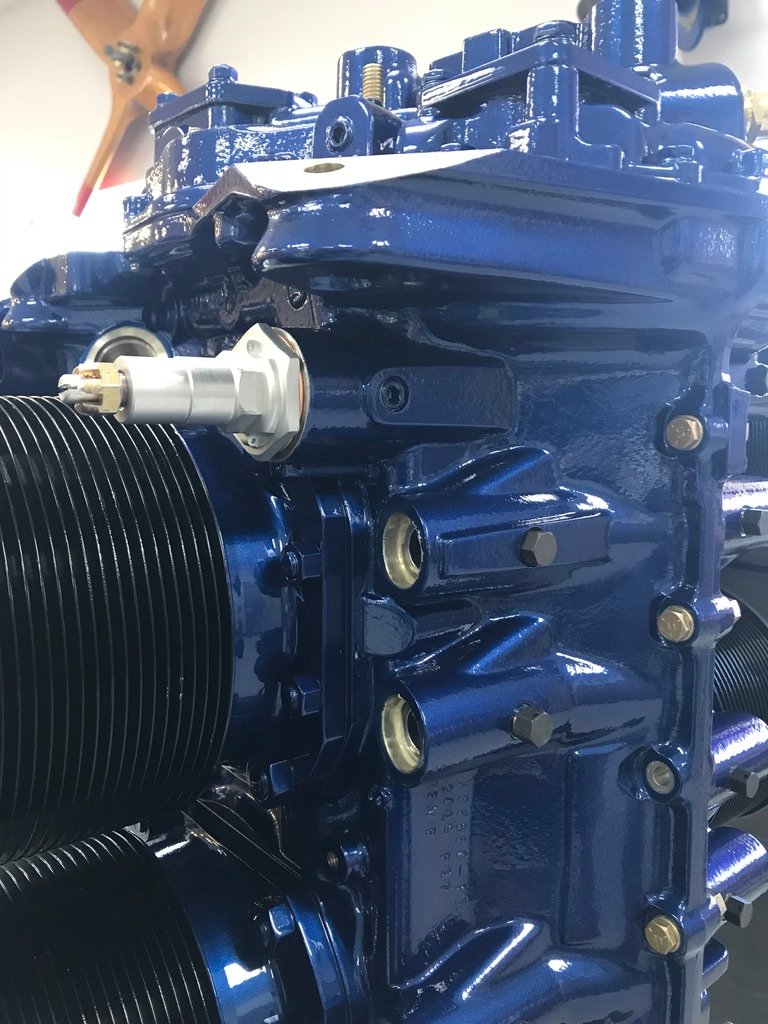
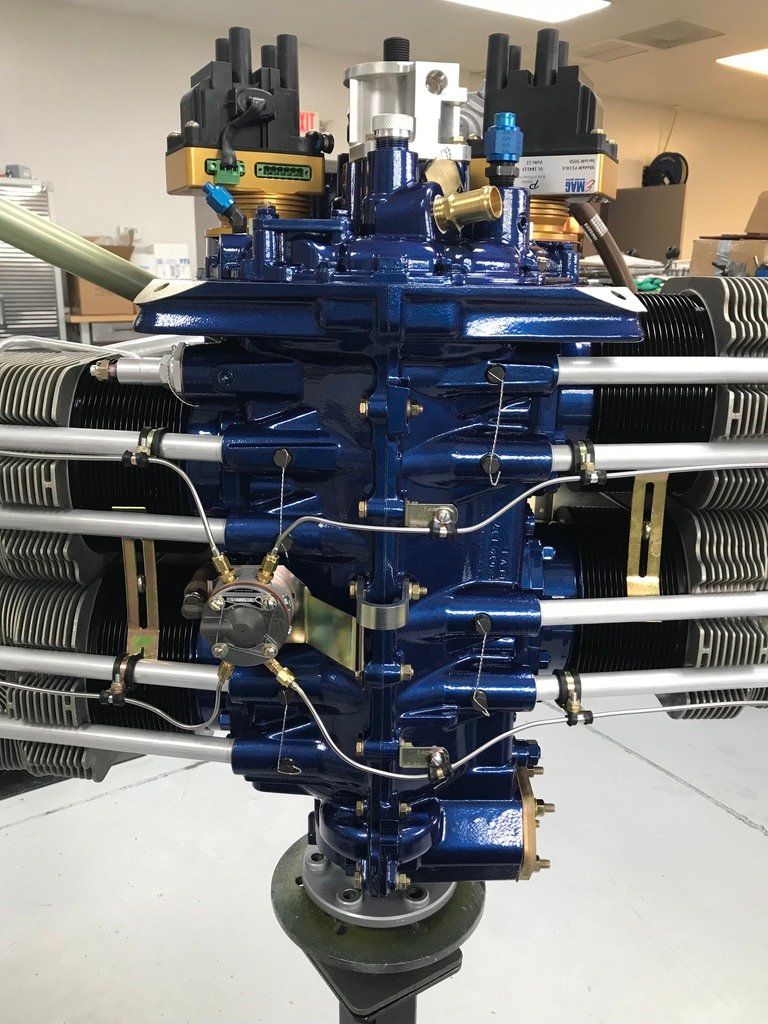
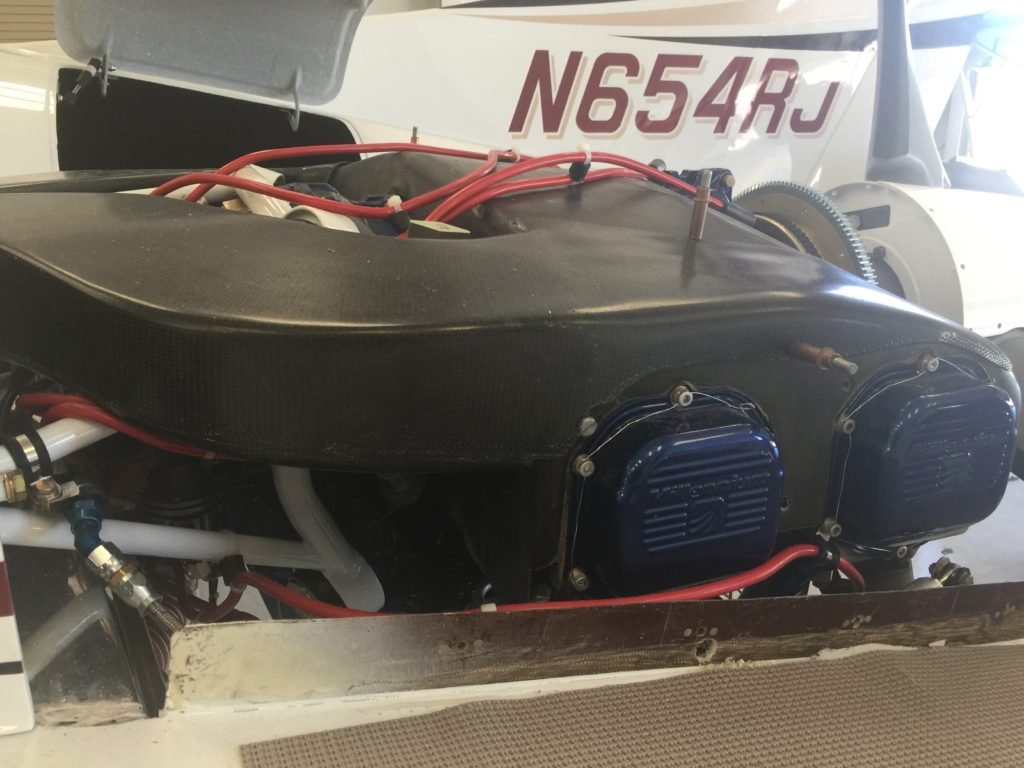
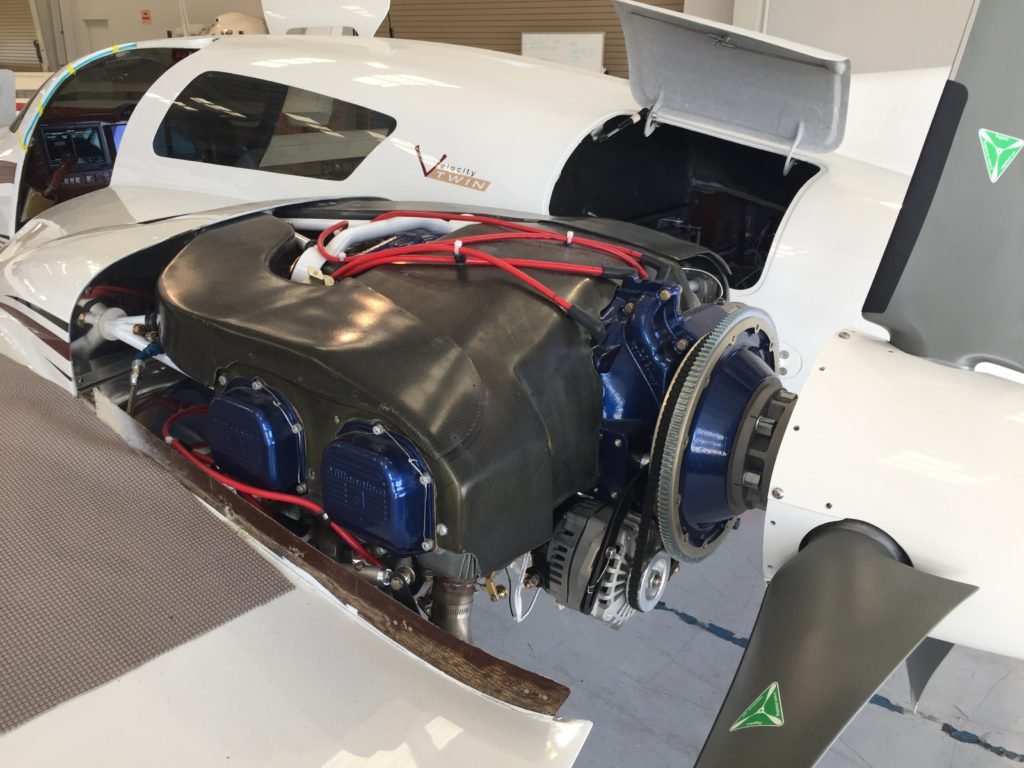
I had the engines painted to protect them against the salty air here in SoCal. The airplane is only about 3 miles from the coast.

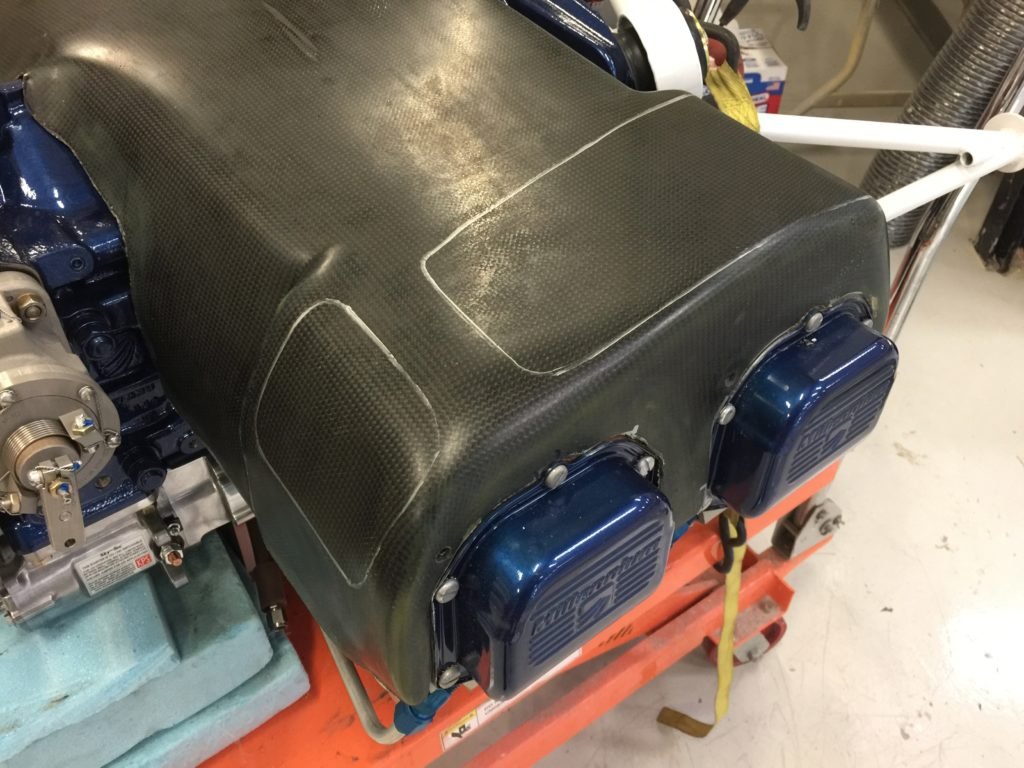
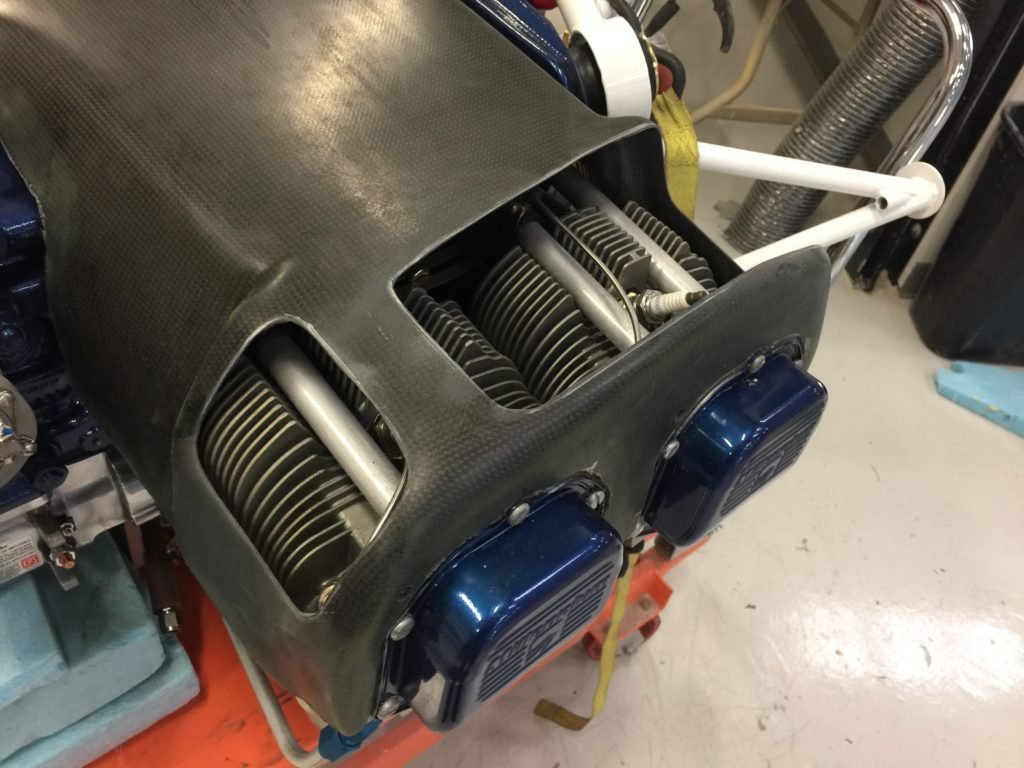
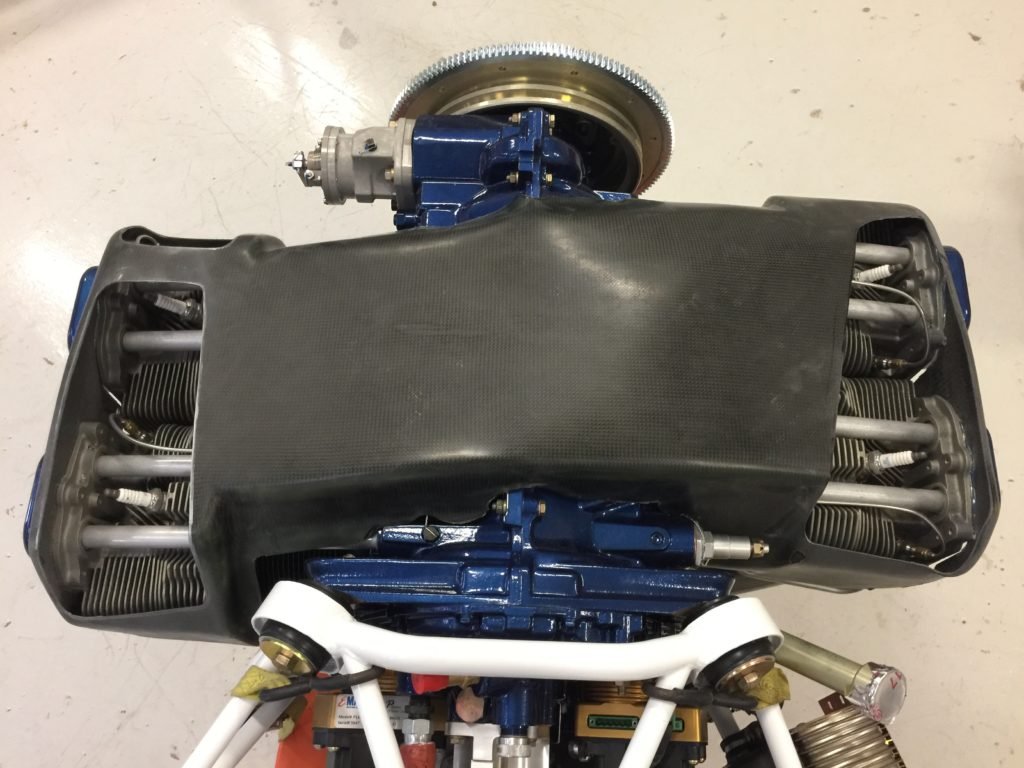
So I have carbon fiber plenums for cooling, a cold air induction system for a touch more power, the high speed, high torque starter (really spins the engines fast), and 9 to 1 compression pistons. The engines have roller cams, and are balanced and blue printed. They are really smooth running, awesome engines!

Back to: Ron’s V-Twin